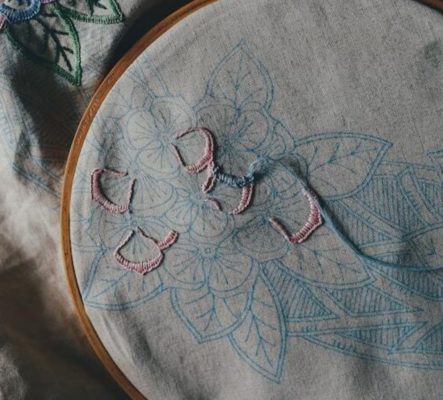
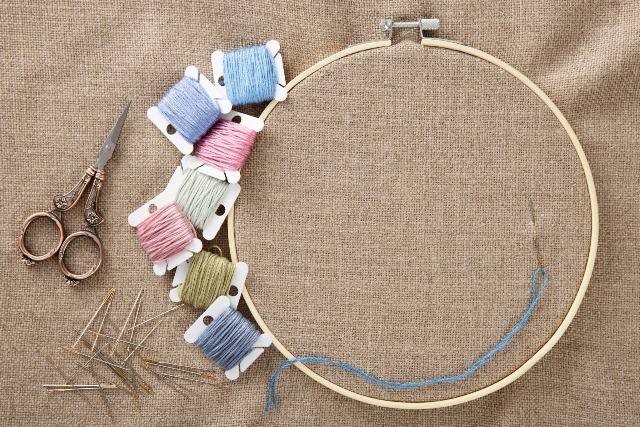
Embroidery hoops are an essential tool for anyone interested in embroidery. They keep the fabric taut and in place, making it easier to create even and consistent stitches. However, before you start stitching, you need to know how to put cloth on embroidery hoop. In this article, we will guide you through the process step-by-step.
How to Put Cloth on Embroidery Hoop

Step 1: Choose Your Fabric and Embroidery Hoop
The first step in putting cloth on an embroidery hoop is to choose the right fabric and hoop. You can use any fabric you like, but it’s important to choose a hoop that’s the right size for your project. If the hoop is too small, you won’t be able to fit the fabric in, and if it’s too large, the fabric won’t be taut enough for you to stitch on.
Step 2: Cut Your Fabric to Size
Once you have your fabric and hoop, the next step is to cut your fabric to size. To do this, lay your fabric flat on a cutting mat and place your embroidery hoop on top. Make sure the hoop is centered on the fabric and trace around the outside with a pencil. Then, cut the fabric along the pencil line, leaving a border of about 1 inch (2.5 cm) around the edge.
Step 3: Loosen the Screw on the Embroidery Hoop
The next step is to loosen the screw on the embroidery hoop. You only need to loosen it enough so that the inner hoop can slide out of the outer hoop. Be careful not to loosen the screw too much, as the hoop may come apart entirely.
Step 4: Place the Inner Hoop on the Fabric
Once the screw is loosened, place the inner hoop on the fabric. The inner hoop should be facing up, with the screw facing away from you. Center the hoop on the fabric, making sure the fabric is smooth and taut.
Step 5: Place the Outer Hoop over the Fabric and Inner Hoop
Next, place the outer hoop over the fabric and inner hoop. The screw should be facing down, and the fabric should be sandwiched between the inner and outer hoops. Press down on the outer hoop to hold the fabric in place.
Step 6: Tighten the Screw on the Embroidery Hoop
Finally, tighten the screw on the embroidery hoop. Use your fingers to hold the inner hoop in place while you tighten the screw with your other hand. Make sure the fabric is taut and smooth as you tighten the screw.
Step 7: Adjust the Tension as Needed
If the fabric isn’t taut enough, you can adjust the tension by loosening the screw slightly and pulling the fabric taut before tightening the screw again. If the fabric is too taut, you can loosen the screw slightly and adjust the fabric before tightening the screw again.
Step 8: Trim the Excess Fabric
Once you have the fabric taut and in place, you can trim the excess fabric from around the edges of the embroidery hoop. Leave about 1/4 inch (0.6 cm) of fabric around the edge of the hoop to prevent fraying.
Conclusion
Putting cloth on an embroidery hoop is a simple process that can be done in just a few easy steps. By following this step-by-step guide, you’ll be able to get your fabric taut and ready for stitching in no time. Remember to choose the right size hoop for your project, cut your fabric to size, and adjust the tension as needed to get the best results. With a little practice, you’ll be an embroidery pro in no time!


