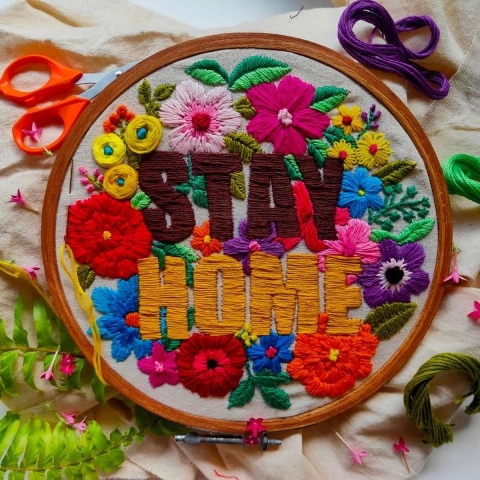
Embroidery hoops are used for holding the fabric in place while embroidering. They are made from a variety of materials, each with its own advantages and disadvantages.
Popular Types of Embroidery Hoops
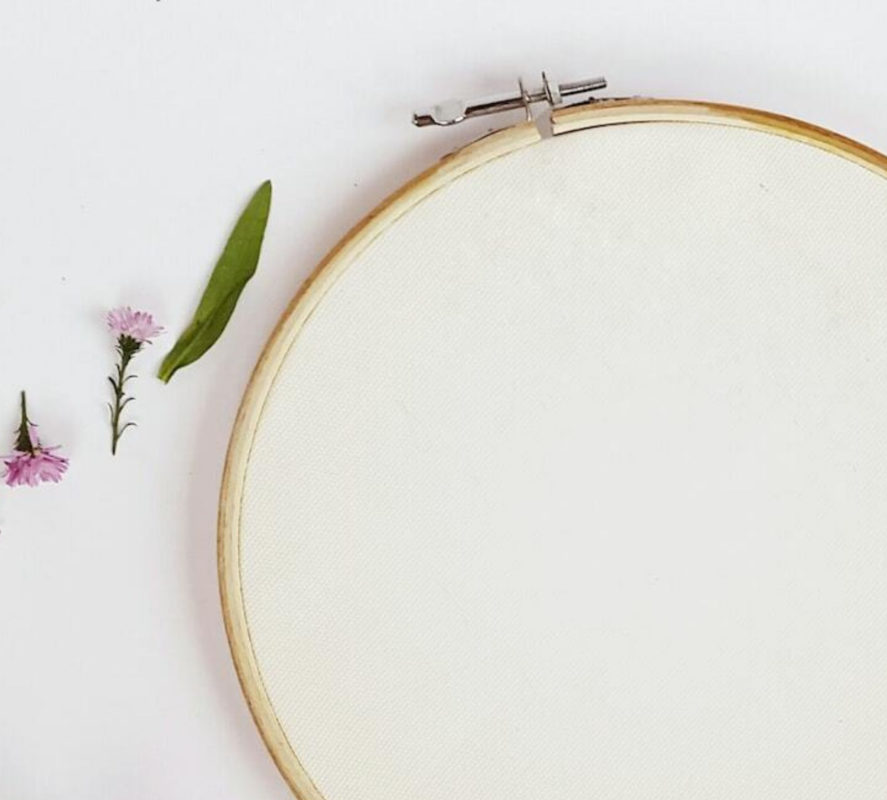
Wooden Embroidery Hoops:
Wooden hoops are a traditional favorite among embroiderers. Some people feel that they are the best type of hoop because they hold the fabric taut, causing less distortion than other types of hoops, and they can be used for any type of material.
However, the wooden hoops usually cost more than other types, and they can be difficult to store, especially if you have several of them.
Wooden hoops are made from solid blocks of wood. They feature a thin metal band that runs around the edge to keep the fabric taut, and hoops that aren’t very expensive usually have plastic covers that slip over the hoop to protect your hands while you work.
You should avoid wooden hoops that have beadwork at the edge, as this may lead to fraying.
Wooden hoops are available in many different sizes; the most common diameters are 1 inch (25mm), 1¼ inch (32mm), 1¾ inch (45mm), 2¼ inch (57mm), 3 inch (75mm), 5 inches (130mm) and 6 inches (150mm).
Bamboo hoops:
Bamboo hoops are traditionally used to embroider traditional Vietnamese clothing like Ao Dai. Bamboo hoops are lightweight, portable, and very easy to use. This is one of the reasons why bamboo hoops are still widely used today for making Vietnamese clothing.
Bamboo hoops are traditionally made by taking a piece of bamboo and wrapping it with string or cord. The bamboo hoop is then covered with paper, plastic, or other types of modern materials. Bamboo hoops should be stored in an area that has good ventilation.
The best place to store the hoop is out on the balcony or near an open window where air can circulate freely around it.
Mini hoops:
Mini embroidery hoops are usually made of wood or plastic. They are suitable for small projects only. Mini hoops are more expensive than plastic hoops. These hoops are usually thinner than wooden embroidery hoops. They are not as durable as wooden hoops.
Mini hoops come in different sizes.
The size of the hoop you choose should be based on the amount of fabric you have and the desired effect you want to achieve with your embroidery. If your fabric is very thin, a large hoop may cause your material to rip or tear, so a smaller hoop is recommended.
Mini hoops are also used for making keychains, bookmarks, and other small items.
Plastic Embroidery Hoops:
Plastic embroidery hoops are popular because they are inexpensive, come in a variety of colors and sizes, and allow you to see what you’re doing clearly. However, the thin plastic may warp over time, making it difficult to keep your fabric taut. And because they are so inexpensive, plastic hoops are often flimsy and not well-made.
Plastic embroidery hoops are available in larger sizes than wooden hoops so they are ideal for quilting projects or working with larger pieces of fabric.
Retro-Inspired Plastic Embroidery Hoops:
These versatile plastic hoops have a classic look with a clear Lucite™ finish that lets you see your fabric clearly, but they are sturdy enough to withstand frequent use.
They feature a thin metal ring that allows you to make several passes around them with your sewing machine’s stitching arm to gather fabric if necessary.
They also feature holes down the sides so you can thread your basting thread through them to hold your fabric in place during construction before you put the hoop on your machine to embroider it.
Colorful Embroidery Hoops:
These brightly-hued plastic hoops feature decorative beads around the edges that give them texture and style without adding bulk or weight. Because they come in large diameters, they’re perfect for embroidering oversize projects like rugs or quilts, or for working on large pieces of fabric like tablecloths or bedspreads.
The smooth plastic surface glides easily under your needle while keeping your fabric taut for even stitching and minimal distortion at the edges.
Rectangular Embroidery Hoops:
These versatile plastic embroidery hoops can be used for any type of hoop art project; they don’t require any special feet on your machine because the opening is small enough to fit over your throat plate when you use them with your embroidery machine.
They come in two sizes: 2¼ x 4¾ inches (57 x 123mm) and 3½ x 5 inches (89 x 127mm).
Embroidery Hoop Tips and Tricks
Select the right hoop size:
Different fabric designs require different hoop sizes. You can try to use a bigger hoop, but it will be harder to keep the fabric taut.
For extra stability, use a hoop stand:
Hoop stands are small, portable stands that hold the hoops open, making it easy for you to work on your embroidery or needlepoint. All you have to do is place the stand on the fabric and then place your hoop over the stand.
Make sure you have the right materials before you start embroidering.
Avoid stretching your material:
Allowing your fabric to stretch will cause problems with tension, stitch quality, and placement of stitches. Don’t pull the fabric too tightly or else it will be hard to see what you are working on. Stretch the fabric just enough so that you can see what you are working on without having to strain your eyes.
Frequently Ask Questions-Hoop Art
Q: What are the different types of embroidery hoops?
A: There are two main types of embroidery hoops that are available for purchase. These include wooden hoops and plastic hoops.
Plastic hoops are generally made out of polypropylene or polyethylene, which is why they are known as plastic hoops. The main difference between wooden and plastic is that plastic embroidery hoops are more lightweight than wooden hoops. They also tend to be more durable since they can withstand frequent use.
Wooden hoops, on the other hand, tend to be more aesthetically appealing. If you need something that is sturdy and which will last for a long time, then you should consider purchasing plastic hoops instead of wooden ones.
Q: What makes an embroidery hoop good
A: First of all, you want to get a quality embroidery hoop. I recommend getting hoops made from beech wood. I am not sure why, but the hoops with the plastic insert do not hold up well. Also, make sure you get a hoop that is at least 1 inch in diameter (1.25 inches if you like to stitch on large pieces of fabric). Also, make sure the inside of the hoop is smooth and not rough. The worst thing you can do is buy a cheap metal hoop and use it with fine fabrics. It will ruin your fabric and it will even damage the hoop itself.
Q: What fabric do you use for embroidery?
A: We use a special tight weave fabric. It is made in the USA and has a slightly rough texture. It is not a flannel or cheesecloth.
Q: What needles should I use for hand embroidery?
A: A sharp needle with a large eye. The needle should pass through the fabric easily and be very sharp so it doesn’t catch in the fabric and tear it. A sharp needle will give you a nice smooth line. Some of our customers like to use embroidery thread and a needle with a large eye with the same number as the thread. For example, use a #10 Needle when using 10 size embroidery thread.
Q: How to transfer hand embroidery patterns onto fabric
A: There are many different ways to transfer patterns onto fabric. You can iron it on, sew it on, or use a lightbox and transfer paper. We recommend using a lightbox and transfer paper because you get a much clearer pattern. If you don’t have a lightbox and transfer paper you can put the pattern under a bright light and trace around it with a pencil. If you have a lightbox and transfer paper follow these steps:
1. Tape your pattern to the flat side of the transfer paper.
2. Place it under a bright light or outside in the sun. This will allow you to see the lines better when tracing them on the fabric.
3. Trace around your pattern onto the fabric with a pencil.
4. Peel off the pattern and tape the transfer paper to the fabric wrong side up.
5. Cut along the lines using sharp scissors or rotary cutter and mat knife.
6. Iron on the design using a hot iron for 30 seconds to 1 minute depending on how thick the fabric is and apply pressure while ironing for 30 seconds to 1 minute until set in place.
7. Embroider over your design with embroidery floss or thread of choice.
Q: What is the difference between aida and evenweave?
A: Aida is a type of cross stitch fabric with a grid of squares on it. The most common type has 14 squares per inch. Aida has the advantage of making it easy to count stitches and so forth. However, there are some disadvantages: Aida tends to curl on itself and is more difficult to keep flat when stitching. The edges are also very bulky, so it does not show off stitched areas to their best advantage. There are ways to deal with these issues, but if you are new to cross-stitching, I would recommend starting out with an even weave fabric.
Evenweave fabric is made up entirely of woven threads running in one direction only. This makes it much easier to stitch on since there is no grid to contend with or pull-down when stitching. It also does not curl at all, which makes things easier still. However, unlike Aida, there is no way to count stitches using an even weave fabric since there is no grid or squares on it at all. You have to count the threads yourself if you want to keep track of how many stitches you are doing.
Evenweave fabric also tends to have very large holes compared to Aida, so if your work shows off your stitched areas well or if you just like to see what you have done in each area, then an evenweave might not be for you either. It’s really just personal preference in this case.
Q: What can cross stitch be used for?
A: There are really only two limitations that I can think of when thinking about what cross stitch can be used for: The first is that cross stitch cannot be used for anything that will get wet (i.e., kitchen towels).
The second limitation is that it cannot be used for anything that should not get wet (i.e., nappies/diapers). Beyond that, though, there are no limitations Cross stitch can be used for pillows, hanging wall art, clothing (from baby clothing to adult clothing), bags (including handbags), jewelry (necklaces and earrings), home decor items (wall hangings and other things), framed pictures, placemats, coasters…the list goes on and on.
Q: Is cross stitch easy?
A: Cross stitch can definitely seem intimidating at first glance since there are so many different patterns out there and they all look so complex – especially if they’re done in blackwork or other types of counted embroidery where you have a grid or pattern that has a lot of small squares or numbers on it that tell you exactly where each stitch goes – but once you get past those first few steps and once you learn how to read a pattern properly, it really doesn’t take too long to complete something using cross stitch.
Cross stitch might seem intimidating at first glance because there are so many different patterns out there and they all look so complex, but once you get past those first few steps and once you learn how to read a pattern properly, it really doesn’t take too long to complete something using cross stitch.
Q: Why do cross stitches?
A: For me personally, I like cross stitching because it is relaxing, fun, creative, artistic, and it’s something that makes me feel good about myself when I work on it. I also like that it can be used for making practical things that are useful or decorative things that are beautiful. To me, the benefits of cross stitching far outweigh any cons I can think of.
Q: What is cross stitch vs needlepoint?
A: Cross stitch is a countable form of embroidery where you use a chart to determine where each of your stitches goes. Needlepoint is a form of embroidery where you use a canvas or piece of fabric with holes already in it to determine where each of your stitches goes. It’s up to you which one you choose – they’re both great.
Q: Can cross stitch be washed?
A: Yes You should wash your cross stitch on a gentle cycle in cold water. It is best if you use either a lingerie bag or a pillowcase so your hoop doesn’t catch on anything and tear. Make sure you wash with colors as well so your colors don’t run.
Q: Can you cross stitch without a hoop?
A: Actually yes – if you have a quality needlework frame. There are several different types available at different price points depending on your needs and budget.